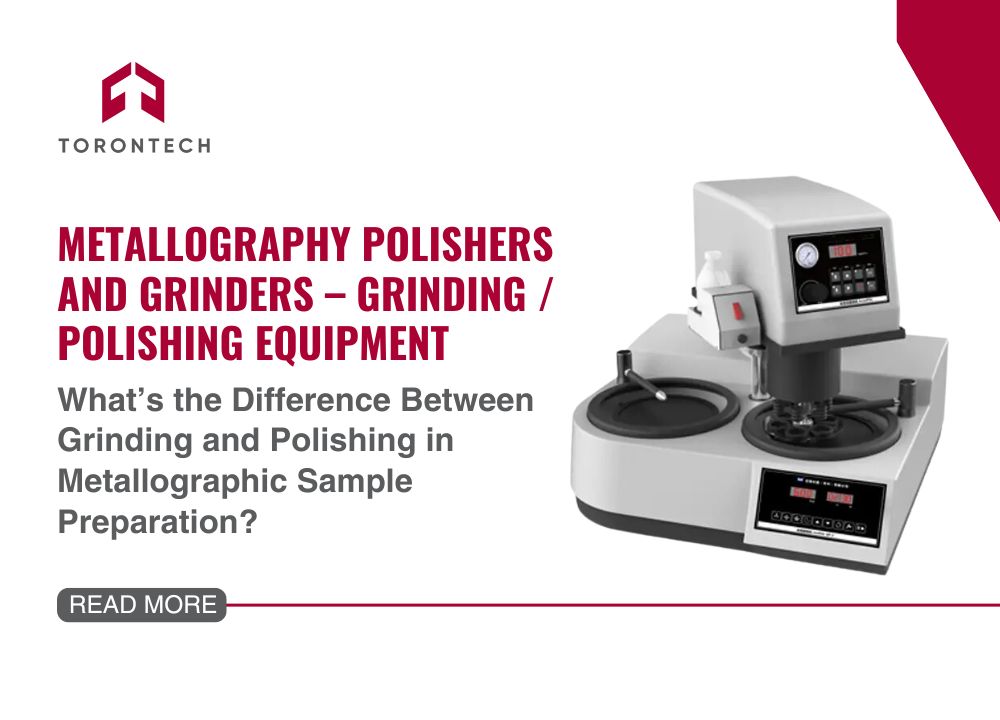
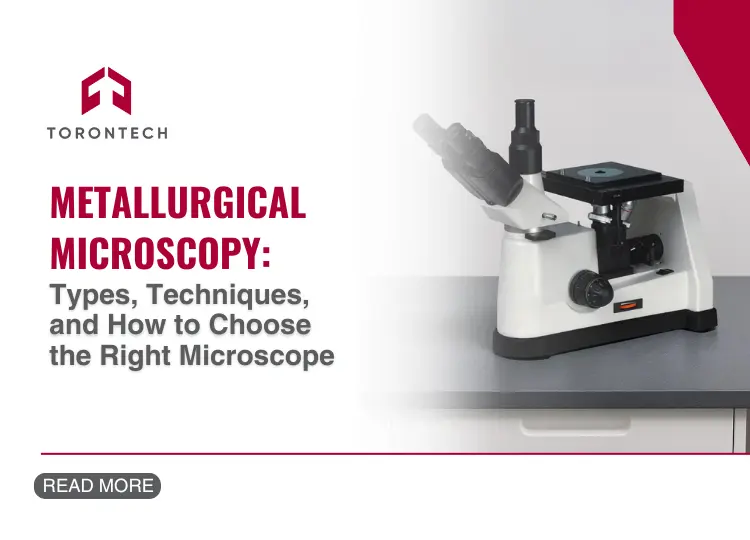
Metals reveal their true potential and performance through their microscopic structures. Metallographic analysis, the study of a material’s physical structure and components, uses a combination of grinding, polishing, and etching techniques to prepare specimens for close inspection.
From identifying alloy types to assessing potential properties, this process is important for industries like manufacturing, automotive, aerospace, and more. Here, we’ll cover the best practices in metallographic testing, giving you the insight to achieve reliable and precise results every time.
What’s Metallographic Analysis? Why It Matters?

Metallography involves examining the structure of metals and alloys, often under a microscope, to understand the material’s properties and predict its behavior. The analysis often starts with surface preparation, where the specimen is carefully ground, polished, and etched to reveal its microstructure.
Why is it important across industries? Because understanding the fine details of metal microstructures helps you judge a material’s quality, durability, and reliability. With metallographic testing, you can accurately measure factors like hardness, grain size, and internal structure.
This testing process supports your decision-making when selecting materials for applications that demand high performance.
The Importance of Reliable Metallographic Testing
Materials science relies on precision, and that’s exactly what metallographic analysis provides. Metallographic testing allows you to determine if a metal is built for the job. Engineers use it as a guide, trusting its results to keep quality high and consistency solid.
Whether your focus is research or quality control, this testing process uncovers hidden qualities that influence a material’s performance over time. When it’s done right, metallographic analysis ensures accurate and reliable outcomes that benefit production and application.
Key Steps in Metallographic Sample Preparation
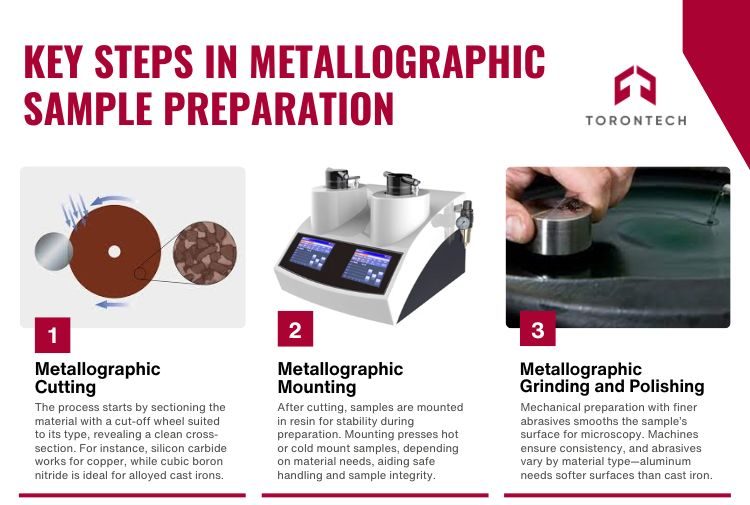
Proper sample preparation is essential for accurate analysis. This process includes several main steps:
1. Metallographic Cutting
The process begins by sectioning the material, often using a specialized metallographic cutting machine with a cut-off wheel suited to the material’s type. This step reveals a clean cross-section for examination.
For example, a hard silicon carbide cut-off wheel may be used for copper, while cubic boron nitride is ideal for alloyed cast irons. For larger parts like steel axles, smaller, manageable samples are cut for easier handling.
2. Metallographic Mounting
Once the sample is cut, it is often mounted in a resin block for stability and protection during further preparation. Using a metallographic mounting press, samples are either hot or cold mounted based on the material type and testing requirements.
Mounting helps preserve the sample’s integrity and allows for safer handling of small or delicate materials. Hot mounting works well for heat-resistant materials, while cold mounting is used for more delicate or coated samples.
3. Metallographic Grinding and Polishing
Grinding and polishing—known together as mechanical preparation—are important to prepare the sample’s surface for microscopic examination. This step involves using successively finer abrasives to create a smooth, scratch-free finish.
Specialized grinding and polishing machines allow for consistent preparation, either manually or automatically. The choice of grinding or polishing surface depends on the material; for instance, ductile materials like aluminum require a different abrasive surface than harder metals like cast iron.
Polishing and Grinding Techniques for a Clearer View
When it comes to grinding and polishing, precision is everything. To begin, start with coarse grinding, which removes rough edges and gets the sample close to the ideal surface. Follow with fine grinding for additional refinement. The final polish should be smooth and reflective, like a mirror, so that it reveals the material’s true structure.
Using an automatic metallographic polisher often yields more consistent results, especially if you’re handling multiple samples. Automated polishers provide control over pressure and speed, which reduces the chance of errors and gives you even results.
Knowing how to polish metallographic samples correctly can help you avoid damaging the surface, a common issue that can distort microstructure analysis.
Best Practices for Metallographic Testing
For metallographic analysis, following best practices leads to trustworthy results. Here are a few tips to ensure accuracy and consistency:
1. Choose the Right Equipment
Selecting the correct metallographic equipment based on your sample’s material helps avoid common issues. Automated tools like polishers and grinders bring consistency to high-volume testing.
2. Standardize Techniques
Consistency matters. Stick to a standardized testing process that minimizes differences between samples.
3. Keep Samples Clean
Even minor contaminants can lead to errors. Clean samples carefully between each step, especially before mounting or microscopic analysis.
4. Calibrate Equipment Regularly
Calibration is essential for accuracy. Regular maintenance prevents wear, ensuring that tools like microscopes and polishers give you dependable readings.
Applications of Metallographic Techniques Across Industries
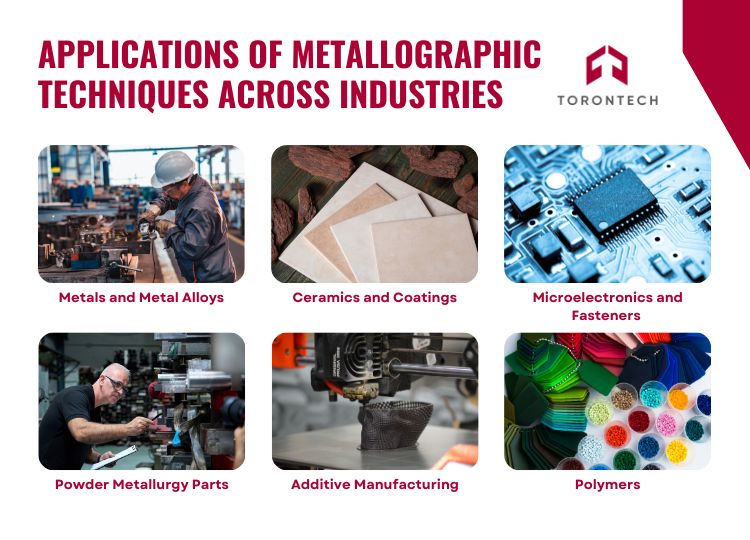
Metallography’s versatility allows it to support various materials, including:
- Metals and Metal Alloys: Common materials include stainless steel, titanium, and brass.
- Ceramics and Coatings: Includes ceramic coatings and thermal spray coatings.
- Powder Metallurgy Parts: Metallography helps in analyzing parts created through powder metallurgy.
- Microelectronics and Fasteners: Essential for understanding the microstructures in screws, bolts, and other fasteners.
- Additive Manufacturing: Used to examine parts created through 3D printing.
- Polymers: Applies to both natural and synthetic polymers.
Metallographic techniques are widely applied in industries ranging from automotive and aerospace to electronics and manufacturing, as well as in academic research settings. Applications include developing and testing new materials, refining manufacturing processes, and conducting component failure analysis.
Final Thoughts
Metallographic analysis reveals a material’s inner workings, allowing you to anticipate its performance, strength, and reliability. By adhering to best practices—sectioning, mounting, grinding, and polishing, and using the right equipment—you can ensure precise results that support quality control and research across various industries.
With metallographic analysis done right, you gain a deeper understanding of your materials. This testing process supports product development, safety, and efficiency, enabling you to make informed choices about the metals and alloys that go into your work.
If you’re looking for high-quality tools to enhance your metallographic testing, explore Torontech’s Metallography Equipment, including specialized tools like Abrasive Precision Cutters, Grinding and Polishing Equipment, and Mounting Presses. Investing in the right equipment allows you to achieve accurate, consistent insights that can drive better material selection and product development.

