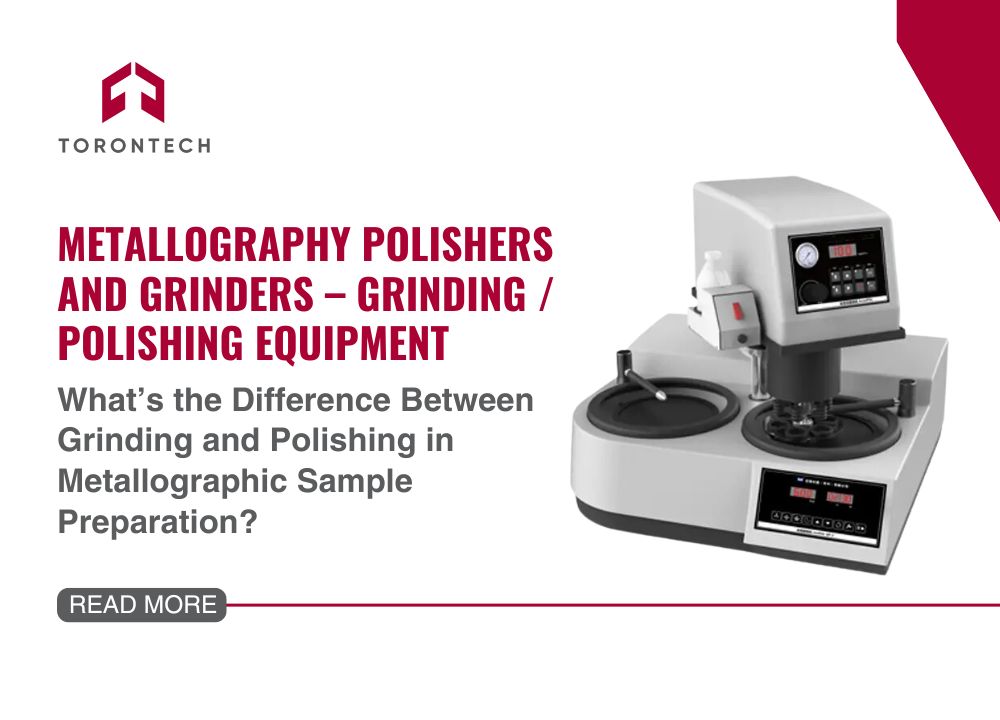
What’s the difference between grinding and polishing? When preparing specimens for microscopic examination, understanding this distinction can make all the difference.
Whether you’re examining metals, ceramics, or other solid materials, grinding and polishing help you create a perfect surface for analysis. Let’s look at how each process works and how they fit together in specimen preparation.
What is Metallographic Sample Preparation?
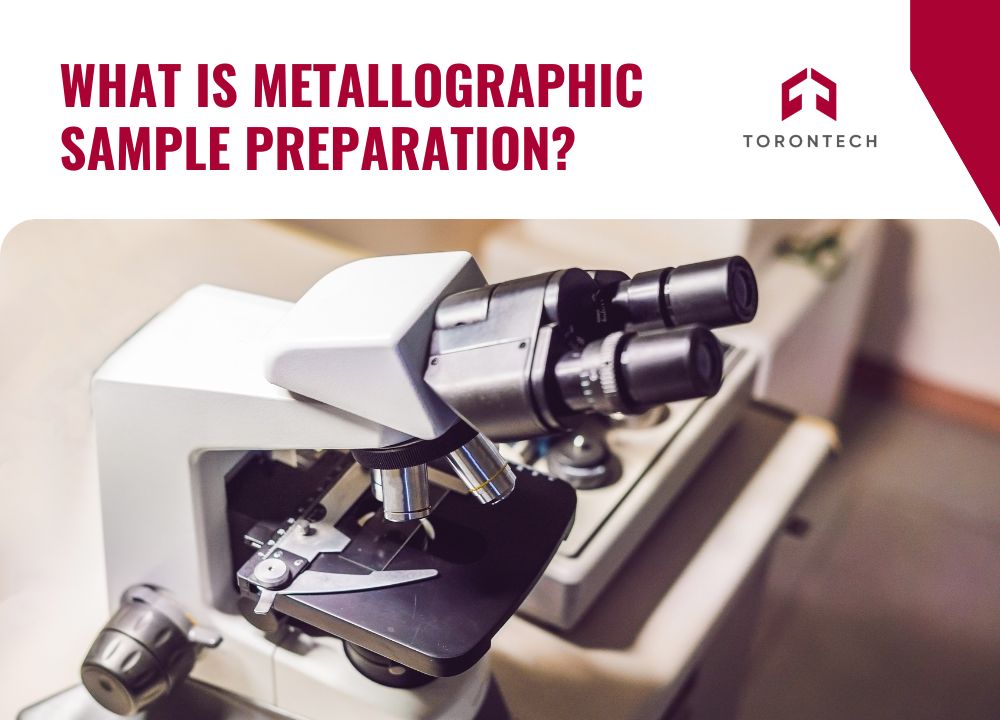
Metallographic sample preparation, also known as metallurgical sample preparation, is a systematic way of creating smooth, flat specimen surfaces. You start with coarse abrasives to remove material, then move to finer ones. This gradual progression refines the surface without altering its structure, ensuring a reliable and reproducible result every time.
Why is this important? When you’re analyzing a material’s structure, surface quality matters. Scratches or irregularities can distort your view, making accurate analysis difficult. Metallurgical sample preparation allows you to achieve a perfect finish, revealing the true structure of your specimen.
Grinding: The First Step in Metallographic Sample Preparation
Grinding is where it all begins. This step removes rough material from the specimen’s surface, leveling it for further refinement. Grinding tools, such as abrasive wheels or discs, vary in coarseness to suit different materials and hardness levels. For harder materials, you’ll likely start with a more aggressive abrasive, while softer materials may need a gentler approach.
This process prepares the surface for polishing by creating a flat, uniform base. Without a good grind, polishing won’t achieve the smooth, scratch-free finish needed for microscopic examination. Think of grinding as setting the foundation for your specimen’s final quality.
Key Points for Grinding:
- Purpose: Removes roughness, levels the surface.
- Tools: Abrasive wheels or discs with various grits.
- Process: Start with coarse, move to finer abrasives.
- Result: A flat, prepared surface ready for polishing.
Polishing: The Final Step for a Smooth Surface
Once grinding is done, polishing takes the stage. Polishing refines the specimen surface, using finer abrasives to smooth out any remaining scratches. The goal? A mirror-like finish that’s free of imperfections, allowing for detailed microscopic analysis.
Polishing tools are gentler than grinding tools, often using soft pads and specific compounds for different materials. For example, you might use diamond suspension or alumina slurry, depending on the hardness and ductility of your specimen. Each compound is chosen to bring out the best finish without damaging the surface.
Key Points for Polishing:
- Purpose: Creates a smooth, mirror-like finish.
- Tools: Polishing pads, cloths, and polishing compounds.
- Process: Uses progressively finer compounds for a perfect surface.
- Result: A scratch-free surface ready for accurate examination.
What’s the Difference Between Grinding and Polishing in Metallurgical Sample Preparation?
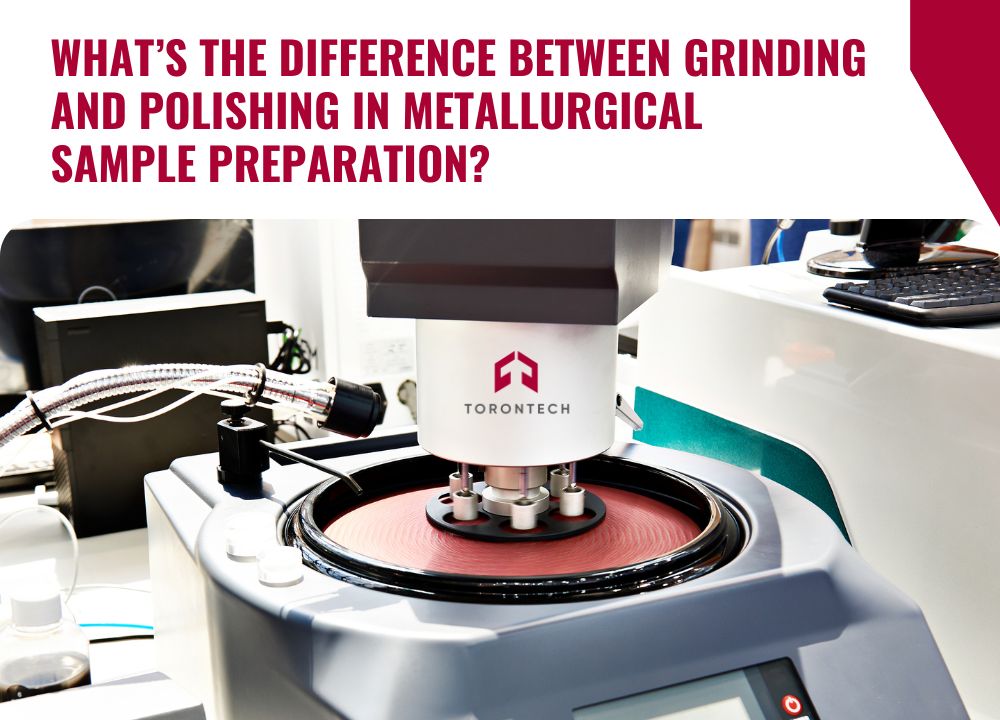
Grinding and polishing may seem similar, but they serve distinct purposes in specimen preparation:
- Material Removal vs. Surface Smoothing: Grinding focuses on removing material and leveling the surface, while polishing refines it to perfection. Grinding is the heavy-lifting step, while polishing adds the finishing touch.
- Abrasives and Tools: Grinding tools are more abrasive and aggressive, suited for material removal. Polishing tools are finer and more delicate, perfect for achieving a smooth finish without altering the structure.
- End Result: Grinding prepares the surface for further work, while polishing creates a final, scratch-free finish. Together, they reveal the true structure of the material, essential for clear and accurate microscopic examination.
Using both processes ensures that the specimen’s structure is displayed consistently. Different materials, based on their hardness and ductility, require specific consumables and steps for the best results. This systematic approach gives you confidence that every specimen will be prepared to the same high standard, ready for accurate and reliable analysis.
Final Thoughts
When it comes to metallurgical specimen preparation, grinding and polishing are essential steps to achieve a high-quality finish. Grinding shapes and levels the specimen’s surface, while polishing refines it, creating a mirror-like result that’s perfect for microscopic analysis. Together, they allow you to examine your specimen’s true structure with accuracy and consistency.
Ready to improve your metallographic sample preparation? Let’s Explore our extensive range of Metallography Grinding & Polishing Equipment for reliable, high-performance tools that make it easy to achieve professional results. With the right equipment, every specimen becomes a window into the material’s hidden details.

