For manufacturers, running a production line with an uncalibrated viscometer is a significant business risk. Getting the flow characteristics of your materials exactly right isn’t just a quality control detail; it’s fundamental to your viscosity testing.
This guide provides a straightforward answer to the question of how to calibrate a viscometer. It’s a challenge we know well.
Why Skipping Calibration Hits Your Bottom Line
Before we get into the process, let’s talk about the consequences.
An uncalibrated viscometer isn’t a minor issue; it’s a direct threat to your financial results. The costs associated with not knowing how to calibrate viscometer properly can be substantial. These are the kinds of costly problems we help our clients avoid every day. What are we talking about?
- Entire Batches Wasted: A formulation that’s too thin or too thick can force you to discard an entire production run. That’s a straight loss of raw materials, labor, and time.
- Product Failures and Recalls: Inconsistent product performance leads directly to customer complaints and, in a worst-case scenario, costly product recalls that can damage your brand’s reputation.
- Lost Time and Productivity: Troubleshooting production issues that stem from unreliable viscosity data is a massive drain on resources. We believe your team’s time is better spent on production and innovation.
Properly calibrating your equipment is one of the most effective and low-cost risk management procedures you can implement.
How to Calibrate a Viscometer: Our Step-by-Step Guide
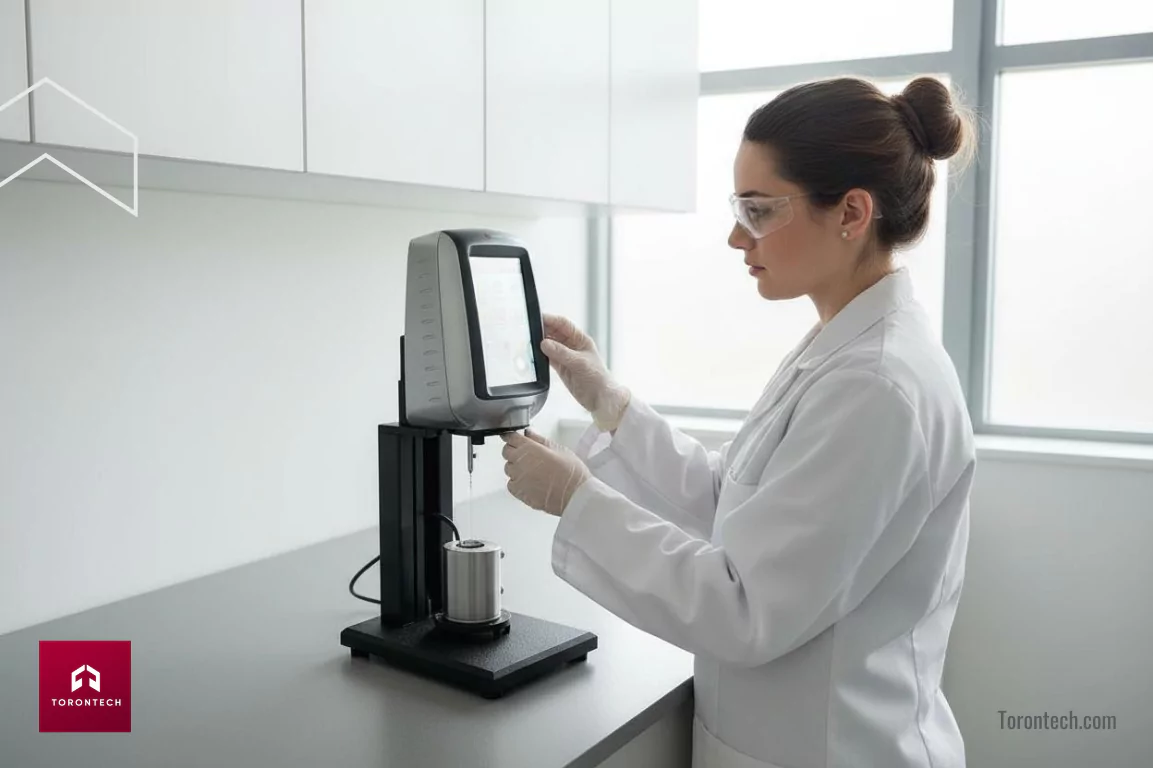
The core of the process is using a fluid with a known, certified viscosity to verify your instrument is performing correctly. This playbook will walk you through the essentials.
Step 1: Prepare Your Station for Success
- Find a Stable, Dedicated Area: Place your viscometer on a solid, level surface away from vibrations or heavy foot traffic. Any movement can compromise the reading.
- Achieve Correct Temperature: You must get your standard fluid and the viscometer’s spindle to the exact specified temperature, often using a purpose-built unit like our ToronCool™ Thermostatic Circulation Tanks. Our Expert Take: Do not rush this step. We advise clients to allow at least one hour for everything to reach thermal equilibrium.
- Ensure Absolute Cleanliness: The spindle and sample container must be perfectly clean. Any residue from previous tests will contaminate your results.
Step 2: Select the Correct Tools
- Choose the Right Standard Fluid: Use a certified viscosity standard with a value that is relevant to the range of materials you typically test.
- Select the Proper Spindle and Speed: Refer to the instrument’s operating manual for this. And here’s another critical point: The goal is to select a spindle/speed combination that gives a torque reading in the middle of the instrument’s capability. We consider this so important that our ToronVisc™ T-Series was engineered to flag an incorrect combination, preventing the error entirely.
Step 3: Running the Calibration
- Load the Standard Fluid: Carefully pour the correct amount of the standard fluid into the container.
- Immerse the Spindle: Lower the spindle into the fluid to the marked immersion depth, being careful not to introduce air bubbles.
- Allow for Stabilization Before Measuring: Turn the instrument on and let the reading stabilize. What does ‘stabilized’ mean in a practical sense? It means the reading isn’t fluctuating more than a few tenths of a unit over a 30-second period.
- Compare and Verify: This is a crucial step in understanding how to calibrate viscometer accuracy. Compare the average reading on your screen to the certified value of the standard fluid. If it’s within tolerance (e.g., ±1%), your instrument’s accuracy is confirmed.
Step 4: Document the Results
Maintain a clear, accessible log of your calibration activities. We believe that manual data entry is an unnecessary source of error, which is why having a simple way to export results, like the USB function on our viscometers, is so valuable.
The Pre-Calibration Checklist
Run through this quick mental checklist every time to ensure reliable results.
- Is the instrument on a stable, vibration-free surface?
- Have the fluid and spindle fully reached the correct, stable temperature?
- Is all equipment perfectly clean?
- Have you selected the appropriate spindle/speed combination for the standard’s viscosity?
- Is the spindle immersed to the correct depth?
- Have you waited for the reading to become completely stable?
- Are the results properly documented for your quality records?
Torontech: Your Partner for Cost-Effective Precision
Ultimately, understanding how to calibrate a viscometer is more than a technical procedure—it’s a fundamental business practice. We believe that guaranteeing your products meet specification and providing auditable data are pillars of a well-run operation. A properly calibrated instrument is a small investment that provides a substantial return.
This philosophy is at the core of our work at Torontech. We believe that precise, dependable viscosity measurement should be accessible, not exclusive. That’s why we engineered our ToronVisc™ series to challenge the industry’s price-to-performance standards, offering a direct and cost-effective pathway to first-class results.
If you are ready to improve your quality control with an intuitive, high-precision viscometer that respects your budget, we are here to help. Contact us to discuss your specific application and discover how our cost-effective solutions can deliver the accuracy and efficiency your business requires.
Need the Right Viscosity Measurement?
Explore cost-effective Torontech viscometers for precise, reliable results.
References
- Rowane, A., Mallepally, R., Gupta, A., Gavaises, M., & MHugh, M. (2019). High-Temperature, High-Pressure Viscosities and Densities of n-Hexadecane, 2,2,4,4,6,8,8-Heptamethylnonane, and Squalane Measured Using a Universal Calibration for a Rolling-Ball Viscometer/Densimeter. Industrial & Engineering Chemistry Research. https://doi.org/10.1021/ACS.IECR.8B05952
- Vishwanathan, G., & Juarez, G. (2019). Steady streaming viscometry of Newtonian liquids in microfluidic devices. Physics of Fluids. https://doi.org/10.1063/1.5092634
- Neuhaus, S., Bissig, H., Bircher, B., & De Huu, M. (2023). Traceability of the Micro Scale Pipe Viscometer for Traceable Calibration of Dynamic Viscosity. Applied Sciences. https://doi.org/10.3390/app13105984
- Okoturo, O., & Vandernoot, T. (2004). Temperature dependence of viscosity for room temperature ionic liquids. Journal of Electroanalytical Chemistry, 568, 167-181. https://doi.org/10.1016/J.JELECHEM.2003.12.050
- Sequeira, M., Caetano, F., & Fareleira, J. (2024). Capillary Viscometry for Routine Measurements of Newtonian Liquids. International Journal of Thermophysics. https://doi.org/10.1007/s10765-024-03410-7
- Mustafa, A., Eser, A., Aksu, A., Kiraz, A., Tanyeri, M., Erten, A., & Yalcin, O. (2020). A micropillar-based microfluidic viscometer for Newtonian and non-Newtonian fluids.. Analytica chimica acta, 1135, 107-115. https://doi.org/10.1016/j.aca.2020.07.039
- Delamarre, M., Keyzer, A., & Shippy, S. (2015). Development of a simple droplet-based microfluidic capillary viscometer for low-viscosity Newtonian fluids.. Analytical chemistry, 87 9, 4649-57. https://doi.org/10.1021/acs.analchem.5b00677
Frequently Asked Questions (FAQ)
2. What are the main types of viscometers?
The most common are rotational viscometers, which are excellent for a wide range of quality control applications. For more demanding R&D or when working with small sample sizes, cone and plate viscometers are often the superior choice.
3. My viscometer's reading is out of tolerance. What should I do?
First, conduct a thorough review of your setup as outlined in this guide on how to calibrate a viscometer. The vast majority of errors originate in temperature, spindle selection, or cleanliness. If the issue persists, the instrument may require professional service.
4. What is the difference between "calibration" and "verification"?
Verification is a routine spot check. Calibration is the more comprehensive process of making adjustments. Our ToronVisc™ series was designed to make both of these essential tasks simple and intuitive.
5. How do I select the right calibration standard fluid?
Always choose a certified standard fluid with a viscosity value that is close to your typical testing range. Using a standard traceable to a national authority like NIST ensures your calibration is anchored to an internationally recognized benchmark.

