A proper TGA calibration is one of the most critical procedures in a materials lab. While the TGA is an absolute workhorse for analyzing polymers and compounds, its data is unreliable if the calibration isn’t precisely managed.
This guide comes from our direct experience. We’ll cover everything from TGA temperature calibration and TGA weight calibration to the best practices we stand by, so you can ensure your instrument, like the accessible solutions from Torontech, provides results you can confidently stand behind.
The Professional Consequences of a Poor TGA Calibration
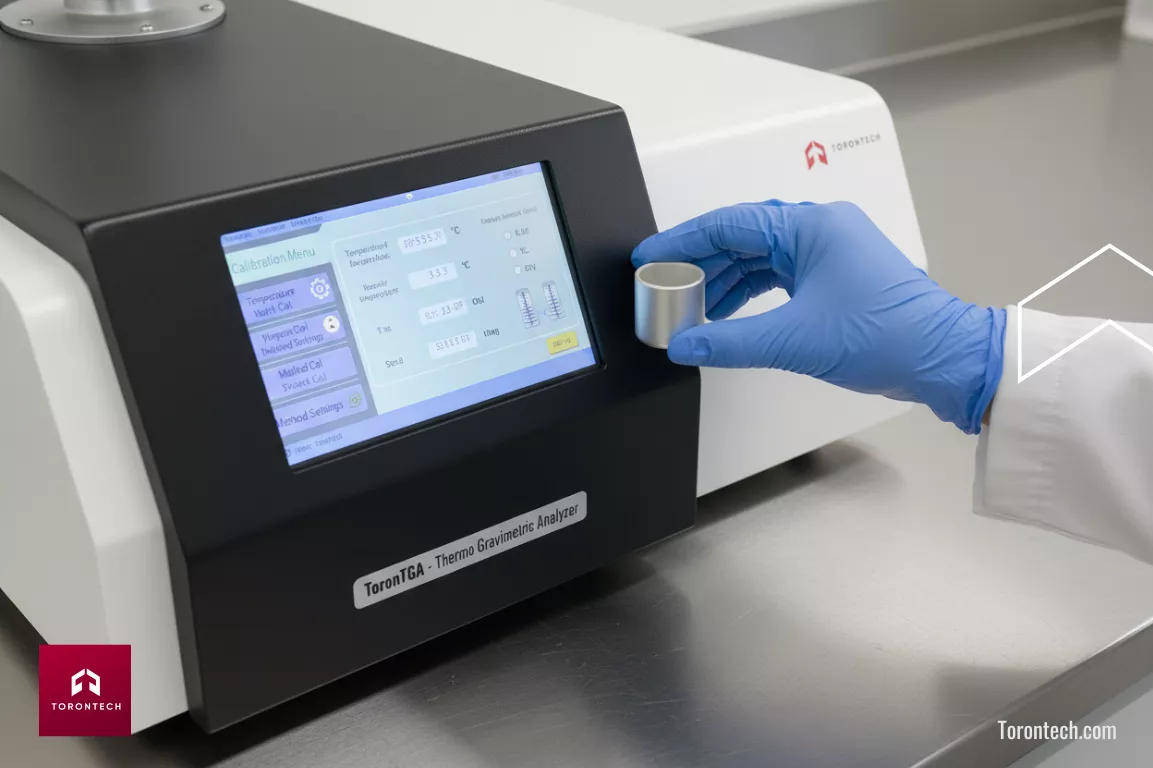
Before we get into the methodology, it’s vital to cover the “why.”
From our professional standpoint, delaying a TGA calibration is a significant operational risk. The consequences are not minor; they are serious, preventable issues that impact the entire workflow.
- Fundamentally Unreliable Data: The most immediate consequence is generating flawed data. It’s a scenario every lab professional wants to avoid. An uncalibrated TGA analysis will report decomposition temperatures that are clearly inaccurate or mass percentages that don’t add up, making extensive experimental work invalid.
- Compromised Product and Batch Quality: When a TGA is used for quality control, poor calibration can lead to inconsistent or out-of-spec products. For instance, consider a QC lab testing a new polymer. If the TGA temperature calibration is off by just 10°C, it might incorrectly show that the material is stable up to 250°C, when it actually begins to degrade at 240°C. A full production batch based on this faulty data would fail final performance testing, leading to a costly rejection and significant project delays.
- Wasted Resources and Project Delays: This is often the most painful result. Making key research or production decisions based on faulty TGA data is the equivalent of pouring valuable time, materials, and budget into a process with a flawed foundation.
- Failure to Meet Compliance Standards: For any lab operating under stringent standards like ISO or GMP, a complete, documented history of regular TGA calibration is non-negotiable. Lacking this documentation is a direct route to a failed audit.
Using Certified TGA Calibration Standards
Now that the professional stakes are clear, let’s focus on the solution. To perform a valid calibration, you need certified reference materials. We are convinced that using official TGA calibration standards is the only way to achieve genuinely accurate results.
TGA Temperature Calibration Standards
For TGA temperature calibration, the most dependable method uses magnetic materials with a known Curie Point. The Curie Point is a distinct physical property where a material loses its ferromagnetic characteristics at a precise temperature, creating a sharp, unambiguous signal.
Calibrating an instrument like the ToronTGA with these certified materials—such as Nickel (with a Curie Point at 358°C) and Iron (770°C)—ensures its temperature readings are exceptionally precise across its full operational range.
TGA Weight Calibration Standards
Configuring the weight measurement is a more straightforward but equally critical process.
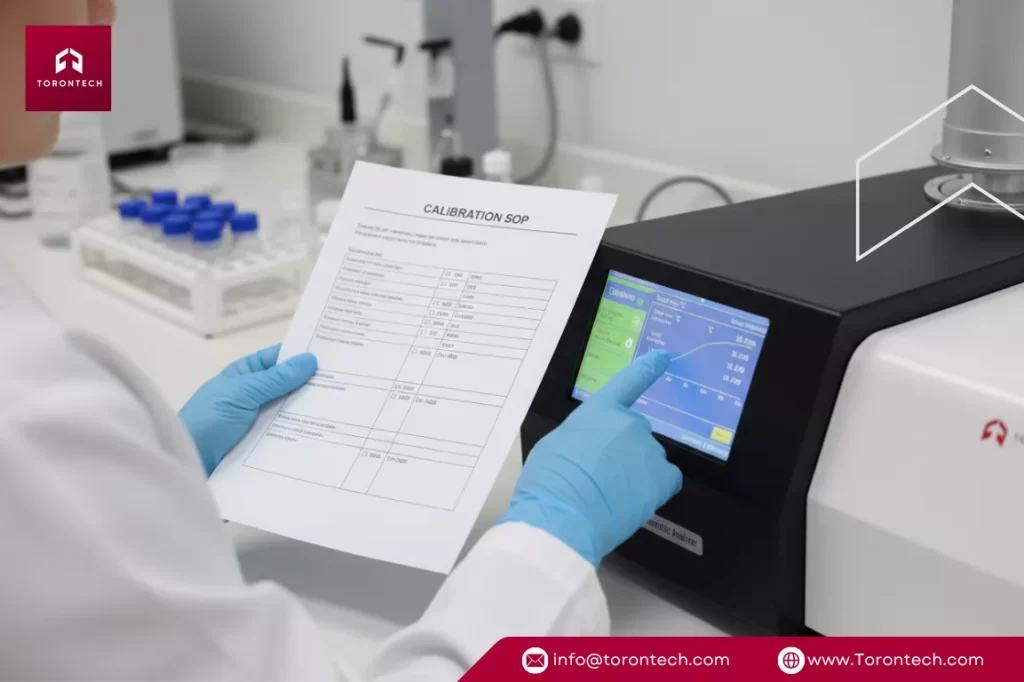
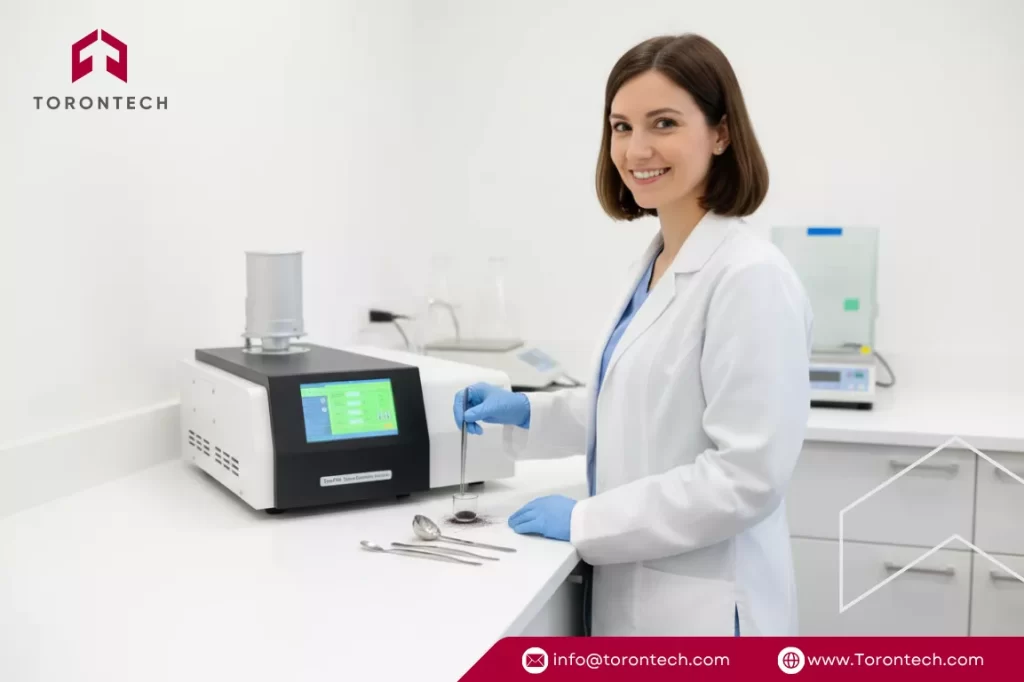
This TGA weight calibration procedure requires placing certified, traceable calibration masses onto the sample holder. The instrument’s microbalance is then adjusted to match these known masses, ensuring every measured change is authentic.
Related article: TGA Sample Preparation: A Complete Guide
Core Best Practices for TGA Calibration
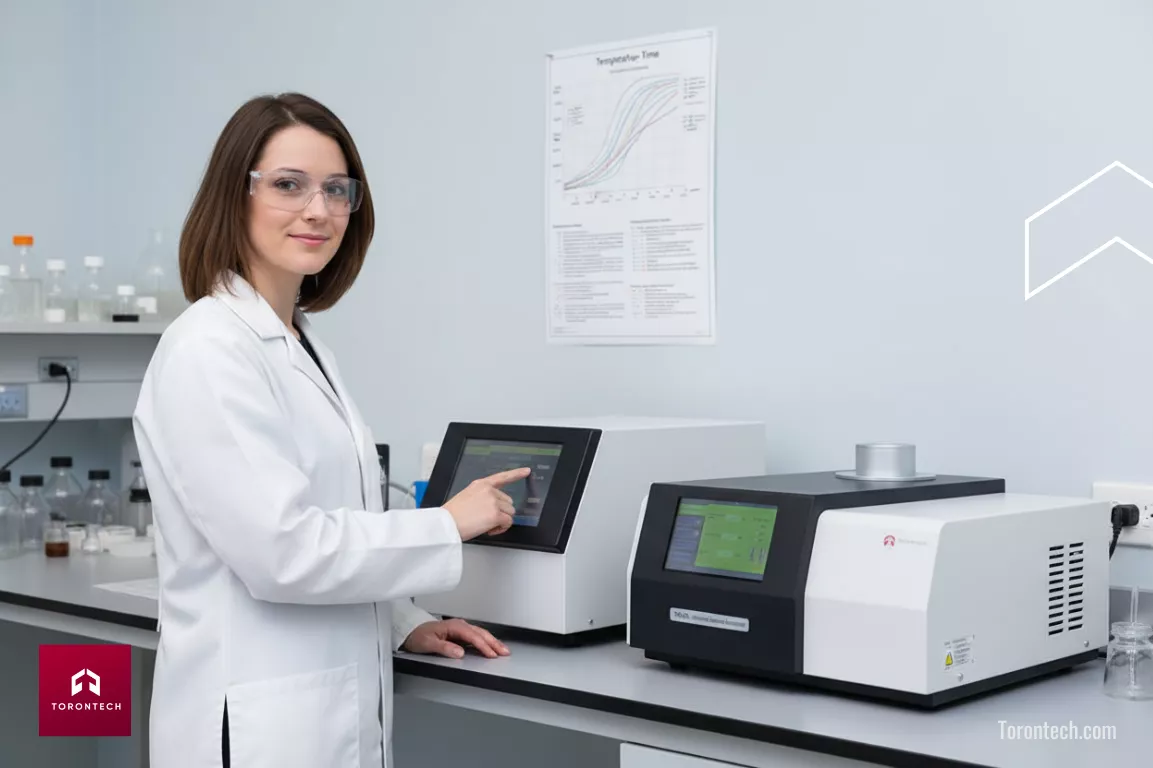
To maintain data integrity and avoid the professional consequences we’ve discussed, it’s vital to establish a consistent TGA calibration protocol. This isn’t just about ticking a box; it’s about building a system for reliable data. These are the key practices we advise for all our partners.
1. Adhere to a Regular Schedule
The optimal frequency depends on instrument usage, but we advise performing a calibration check at least quarterly or biannually.
For instruments under heavy, daily use, a more frequent schedule for your TGA calibration is a wise investment. Think of it as proactive maintenance; a scheduled check prevents problems, while a delayed one only confirms a problem after it has already affected your data.
2. Calibrate After Any Service
Always perform a full calibration after any significant maintenance, like replacing a furnace or thermocouple. These parts directly influence the temperature and weight readings.
A post-service TGA calibration isn’t just a suggestion; it’s an essential step to re-establish a valid analytical baseline.
3. Use Certified Reference Materials
Always use traceable, certified TGA calibration standards. “Traceable” means their values are officially linked to a national standards body. In our view, trying to calibrate a sensitive instrument with an unverified material completely undermines the purpose of the entire procedure.
4. Calibrate for Your Working Temperature Range
An instrument’s accuracy will be highest in the region between your calibration points. If your work is concentrated on specific heat ranges, make sure your TGA temperature calibration points bracket that area. For example, if you’re analyzing polymers that show activity around 400°C, using standards like Nickel (358°C) and a certified alloy at 585°C will give you far more accurate data.
5. Maintain Detailed Records
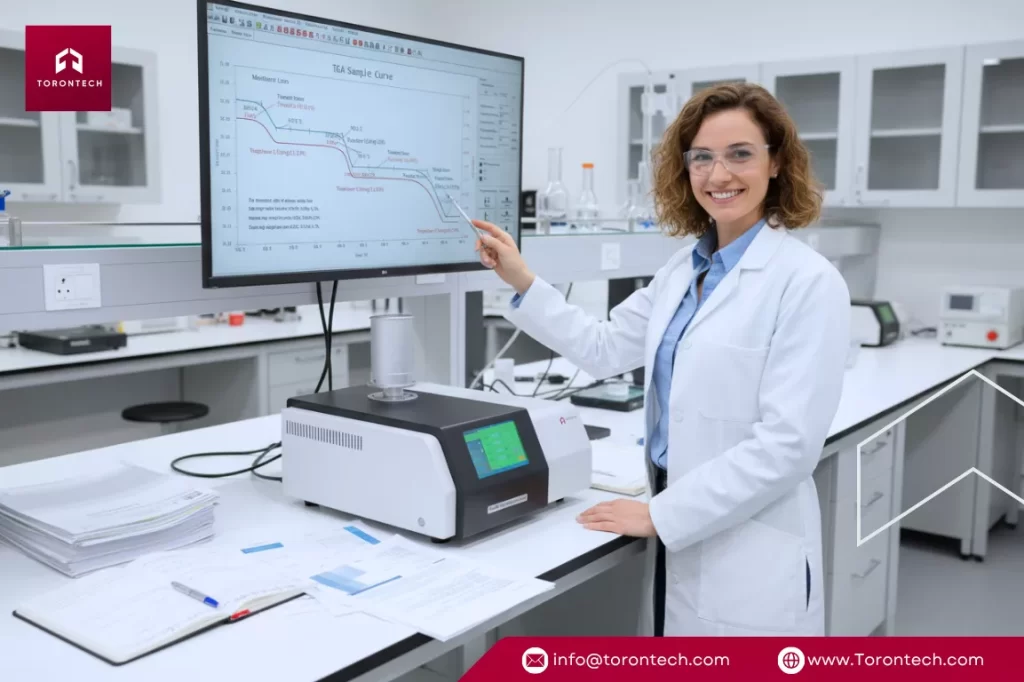
We can’t stress this enough: keep a detailed log of all calibration activities. This log should include details for every TGA weight calibration and temperature check. To streamline this, the intelligent software on modern analyzers like the ToronTGA often includes functions to digitally log and track calibration history, which is invaluable for both quality control and compliance audits.
Achieving Reliable Analysis with Torontech
A properly managed TGA calibration is the foundation for trustworthy thermal analysis. The goal is to work with an instrument that consistently produces accurate data. By recognizing the risks, using the correct TGA calibration standards, and following a consistent routine, you build a professional confidence in your work that leads to better innovation and higher quality products.
This requires both disciplined procedures and a reliable instrument. Our entire approach has been that high-level performance should not come with a prohibitive price tag. That is the reason we developed the ToronTGA. Engineered for accuracy and repeatability, it provides a user-friendly interface and quality components that ensure your calibration work translates into results you can depend on.
If you are ready to enhance your lab’s capabilities, consider the ToronTGA from Torontech. Contact us today to learn more about our cost-effective TGA solutions and how they can support your organization.
Want More Reliable TGA Results?
References:
- Li, N., Duan, X., & Peng, G. (2025). Calibration of temperature, enthalpy, and thermogravimetric parameters in synchronous thermal analyzer (STA) for accurate thermal analysis. Measurement Science and Technology, 36. https://doi.org/10.1088/1361-6501/add9b3
- Akash, M., & Rehman, K. (2019). Thermo Gravimetric Analysis. **, 215-222. https://doi.org/10.1007/978-981-15-1547-7_19
- Wang, T., Wang, H., Wang, F., Li, J., Zhang, Q., & Huang, X. (2018). Certification of reference materials of Alumel, nickel and iron for Curie point. Journal of Thermal Analysis and Calorimetry, 131, 1979-1985. https://doi.org/10.1007/s10973-017-6618-4
- McGhie, A., Chiu, J., Fair, P., & Blaine, R. (1983). Thermogravimetric apparatus temperature calibration using melting point standards. Thermochimica Acta, 67, 241-250. https://doi.org/10.1016/0040-6031(83)80104-X
Frequently Asked Questions
1. How often should you calibrate a TGA?
The ideal frequency for a TGA calibration depends on how heavily the instrument is used and your lab’s quality requirements. As a general best practice, we recommend a full calibration check at least quarterly or biannually. However, for instruments that are in constant use for critical quality control applications, a more frequent monthly check is a wise policy to ensure data integrity.
2. What is TGA temperature calibration?
TGA temperature calibration is the process of verifying and adjusting the instrument’s temperature readings to ensure they are accurate. This is typically done by running a certified reference material, such as a metal with a known Curie Point, and comparing the temperature at which the event occurs on the instrument to its known, true temperature. A proper calibration ensures that thermal events like decomposition are recorded at the correct temperature.
3. What standards are used for TGA calibration?
The most common TGA calibration standards for temperature are certified magnetic metals with a known Curie Point, such as Nickel, Iron, and various certified alloys. For TGA weight calibration, the standards are a set of certified, traceable calibration masses (weights) that are placed on the balance to verify its accuracy. Using these official standards is the only way to guarantee a valid calibration.
4. Why is TGA weight calibration important?
TGA weight calibration is absolutely critical because it ensures the accuracy of all quantitative data produced by the instrument. The entire purpose of a TGA is to precisely measure changes in mass as a function of temperature. If the balance is not properly calibrated, the resulting data, such as the percentage of a filler in a polymer or the amount of moisture in a compound, will be incorrect, leading to flawed conclusions.
5. Can you calibrate a TGA yourself?
Yes, you can and should perform routine TGA calibration in your own lab. Modern instruments, including the ToronTGA, are designed with user-friendly software that guides operators through the calibration procedures for both temperature and weight. As long as you use the correct certified TGA calibration standards and follow the recommended procedures, you can effectively maintain your instrument’s accuracy yourself.

